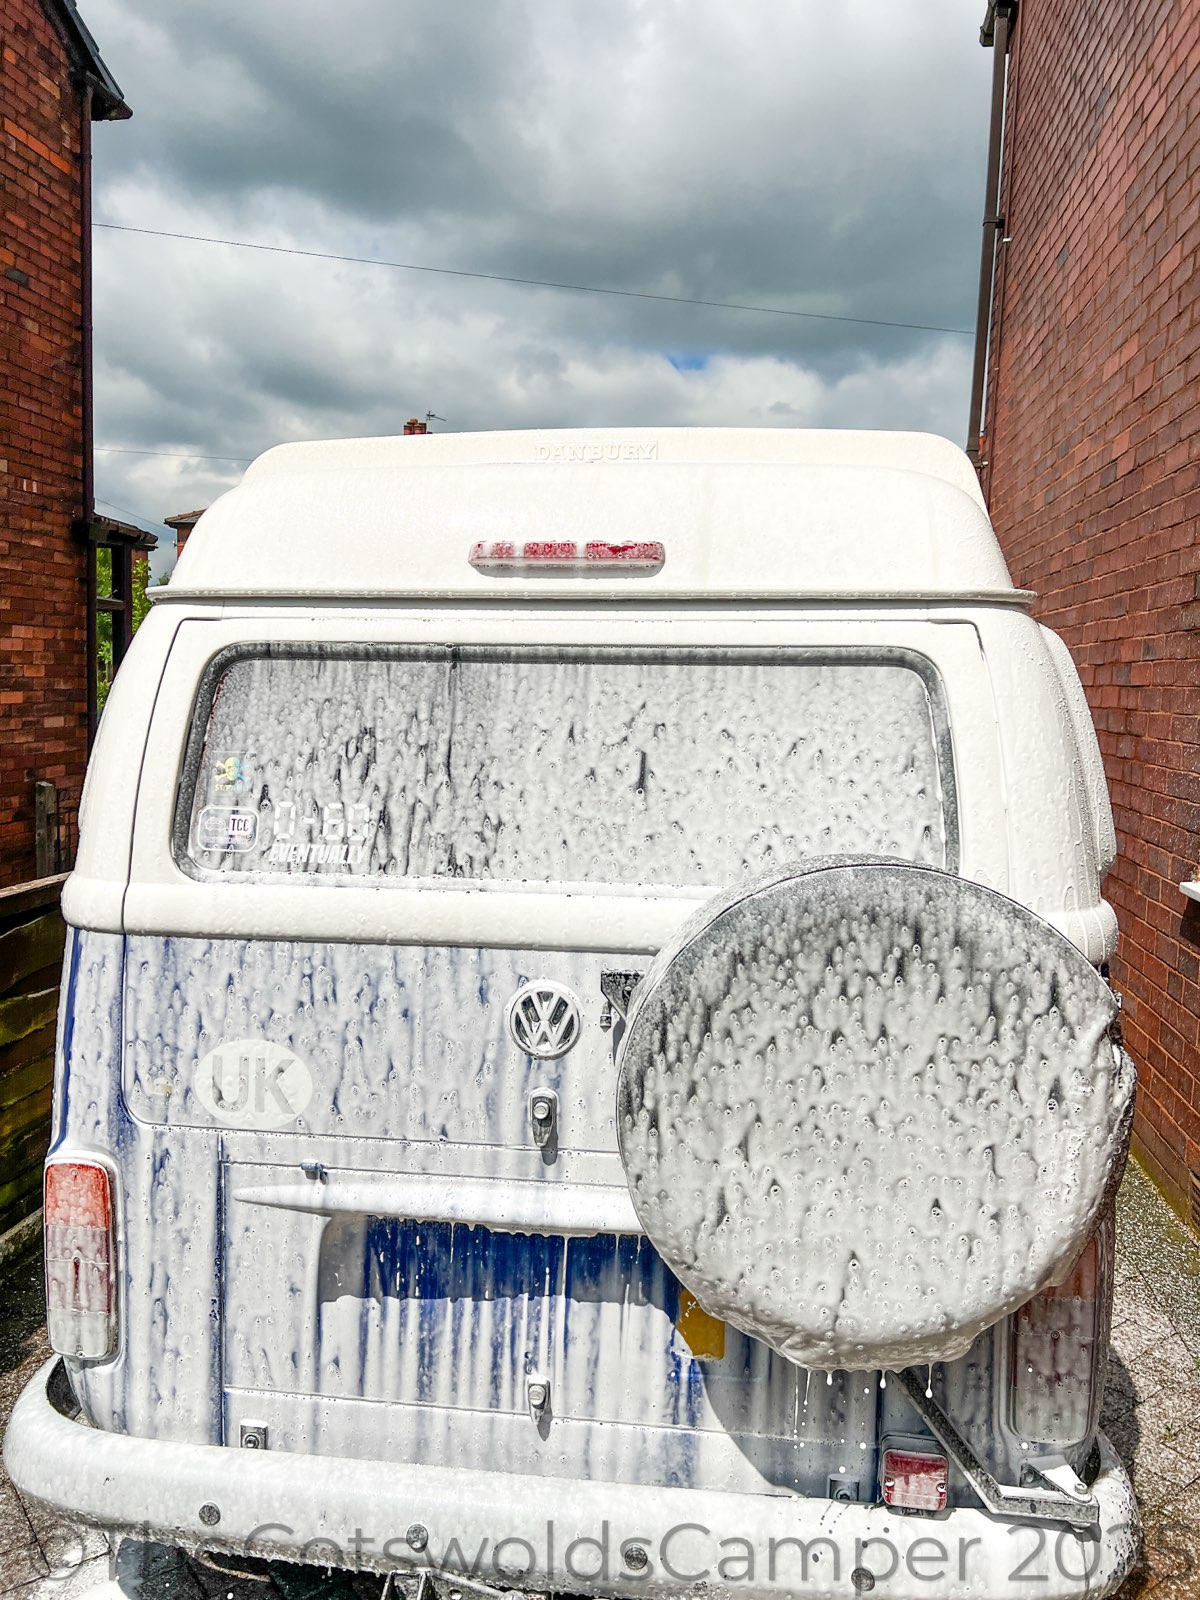
A few tips to keep the van looking great. First, protect your paintwork.
Always wash the van yourself, or go to a reputable hand car wash. Never go through a drive-through car wash or jet wash. Never use a pressure washer on full power — you can use one to spray the foam on, but on a low setting. Anything higher and you're damaging the paintwork.
What you'll need
- A bucket
- Two sponges
- Good quality car shampoo (Turtle Wax or Autoglym, for instance)
- Wheel cleaning spray (I use Demon, but there are plenty out there)
- A long-handled brush — one you'd use for the dishes — to get into the hard-to-reach areas like the wheels and vents
- A chamois
- Good quality wax or polish
- Clean cloths for applying the wax or polish
First rinse
Fill your bucket with warm — not scalding — water. Take a clean sponge and work around the top of the van first, loosening off the dirt, then gradually work your way lower down.
Pay attention to the rubber seals around the windscreen and windows. Pull the wipers away from the windscreen, clean the rubber thoroughly and inspect it; they tend to wear unevenly, as they never sit as well on a T2 windscreen as they do on a standard vehicle. Get into the vents and wheel arches with your brush. All sorts of dirt and debris collects there, particularly in the winter months when the roads are gritted. Over time this causes wear on the paintwork, making it go dull or erode, and potentially leading to other issues.
Optionally, before the first rinse, take a clean dry microfibre cloth and lightly wipe off the dry dirt and dust.
Wheels
Apply the wheel cleaning spray liberally over the wheels and work it in with your brush. Leave it a minute or two, then rinse thoroughly with clean water. These sprays are usually quite powerful, so you don't want to leave it on for too long.
Shampoo
Add the shampoo to a fresh bucket of warm, clean water. Take a clean sponge and, in much the same way as the first rinse, work from the top of the van to the bottom. Make sure you get a good lather and good coverage.
Rinse
Repeat step one. If you've used a good quality shampoo it'll likely contain some wax, and you'll notice the water now beading off the van.
Chamois
Take a clean chamois, wet it with clean water and wring it out to make it more flexible. Again, working from top to bottom, wipe a panel or window at a time, wringing out excess water as you go and making sure all remaining water is removed from the van.
Leaving water on the van to dry naturally will leave water marks, and on a bright day it can act as a magnifier for the sunlight and contribute to UV damage.
Probably not an issue on a one-off basis, but not drying the van correctly is a bad habit to get into.
Wax or polish
I don't wax the van every time I wash it. A good quality polish, like Autoglym, will often suffice. It doesn't provide as long-lasting protection as wax, but as wax lasts a while it will still be offering some protection over a few washes, and the polish tops that up. Polish is also much easier to apply, so the job takes less time. That said, I'd suggest using a good quality wax after every second or third wash.
Take two clean cloths. With the first, apply the wax or polish and work it into the paintwork a small area at a time, in a circular motion. Take your second cloth and, before the wax or polish has dried, wipe it off using the same circular motion. At the risk of showing my age, watch The Karate Kid for a good demonstration.
Finishing touches
- Rain-X. Always my first. Apply it much the same way as wax or polish to the outside of your windscreen, windows and wing mirror glass. It lets water bead off and disperse quickly, which helps visibility.
- Demon Shine. I tend to use this on the chrome once I've finished everything else. It adds a little extra protection and shine. Spray on and wipe straight off with a clean cloth.
- Tyre dressing. You've got the wheels sparkling clean, so spray some of this around the wall of your tyres. Stand back. Admire the clean, wet look.
See you out on the road